
Welcome to Stellic's Requirement Editor!
We’re excited for you to get started with audit creation through Stellic. This guide will serve as a quick intro.
Audits are at the core of the Stellic platform. They are how a student knows what is required for a program of study, and how an advisor knows what a student has completed towards a program. Audits are made up of requirements (courses and categories needed to complete the program) and constraints (which tell the system when a requirement has been met).
Create a New Audit
- First find the program through Programs Search on the left menu bar. Find and select the card of the program that you want to build.

- Click ‘Create New Version’ under the Audit tab. (If there is an existing Audit, you can choose to ‘Edit This Audit’, instead.
 3. You’ll see a pop-up that will walk you through choosing a name and audit criteria - such as entry year and campus (see below). We recommend a standardized naming system throughout the university. At the bottom of the menu, you can choose to copy requirements from an existing audit, or you can start from scratch by selecting "None- Don't Copy".
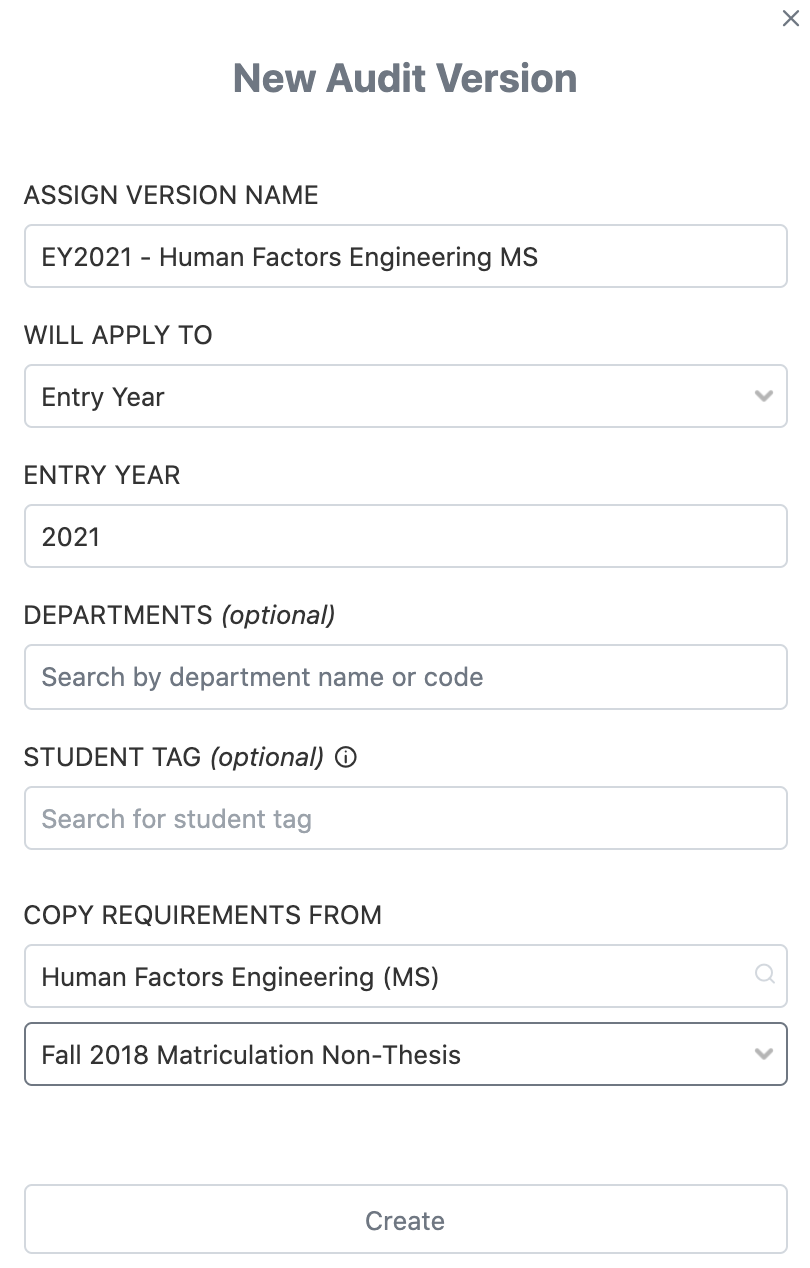
Audit Criteria
Audit criteria will determine to which students an audit applies. Audits will be automatically applied to any students who fits the criteria. Administrators also have the option to manually apply an audit to a student, or exclude a student from an audit.
- Entry Year or Entry Term: If one program has an audit with entry year 2015 and another audit with entry year 2017 then the EY2015 audit will only apply to EY2015-EY2016 students. The EY2017 audit will apply to all students who enroll in 2017 and later.
- Catalog Year: If your institution has a specific catalog year for students' program requirements, Stellic can use this field to match students to their correct requirements. All students must have either an entry year or catalog year to match to an audit.
- Campus: You can also select a certain campus as audit criteria. This helps if a program has different requirements if taken on different campuses.
- Department: You can further limit the scope of the audit by adding department criteria, so it would be automatically applied to students in a certain department only.
- Student tag: If an audit should only apply to students that have a specific tag/attribute, this can be specified. All students without the tag will not apply to the audit.
4. Click ‘Create’, and your new audit will be started!
Tip: You can copy requirements from any existing Audit (not just the parent program) as a shortcut from this menu. You can always remove and change these requirements during editing
Building an Audit
Requirements
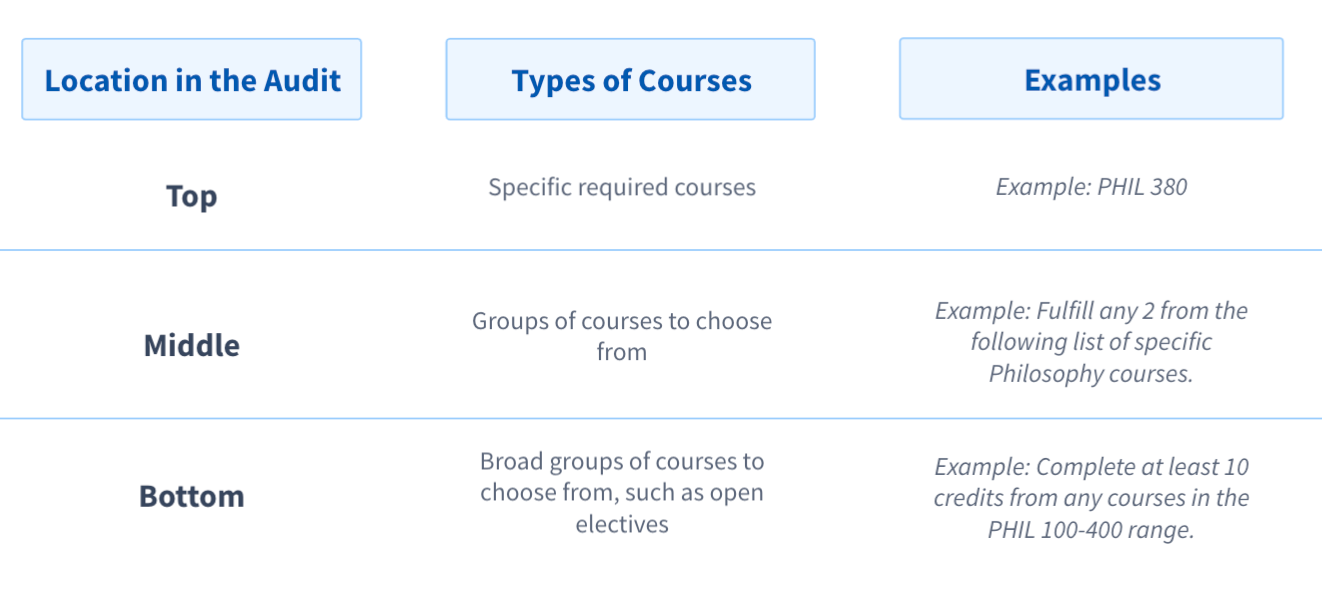
Requirements are the building blocks of the audit. Our system will use these to evaluate classes towards a degree. Within Stellic, categories have a ‘tree’ structure, so you’ll see sub-categories branching off of main categories. Each sub-category can have its own rules on top of the rules for the main category.
There are three types of requirements:
- Course: a single course (e.g.: MATH-101)
- New Category: a new ‘branch’ with specific rules (we call them constraints) and courses (e.g.: “Core Courses”, “Science Elective-Category A”)
- Shared Category: a link to an existing requirement defined as ‘shared’ (e.g.: General Education Requirement). Shared requirements are great ways to shorten the audit building process, as they can be built once and used in many audits.
Constraints
Constraints are the rules that determine if a course fulfills a requirement, like “Take all of the following courses” or “Take a course from the following departments”. Each Category must have at least one constraint, so that the system can tell which courses can be used to fulfill the requirement.
A course must meet all constraints in order to count. If a Category has the two constraints: “Take 1 course from CS Department” and “At least 300 level or above”, a course will only fulfill the Category if it is offered by CS department and the course code is 300 or higher.)
How to Add Requirements
Adding Courses
- Click ‘add more sub-requirements’
- Click ‘course’
- You can either add one course, OR click ‘multiple courses at once’ to bulk add courses.
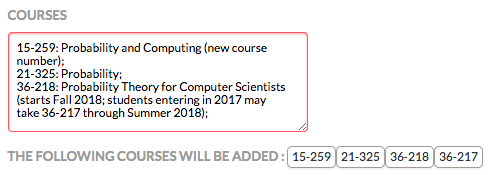
(Tip: You can copy paste course numbers here, and the system will automatically filter out any text that also pasted.)
Adding a Category
- Click ‘add more sub-requirements’
- Click ‘new category’
- Name the new category. Remember to pick something that students can understand!
- Click ‘edit’ next to the Category name to add at least one constraint.
A basic primary constraint would be ‘fulfill all’ or ‘fulfill any’. You can also add secondary constraints, such as ‘at least (x) units in total’.
Check here for a full list of available constraints.
Now you can choose to begin adding specific courses OR make a new branching category within the existing category. For best audit building practice, we recommend putting courses into categories within the audit for ease of display and making exceptions.
Adding a Shared Category (optional):
- Click ‘shared category’ and begin typing to search available shared requirements.
- Choose a name for the Category that will be easy for students to understand.
- Click ‘Add’ once you’ve selected and named, and the entire Shared Category (with any sub-branches and constraints) will populate in the audit.
Tip: Click the gray arrow next to any Category to expand constraints and sub-categories. You can also edit non-shared Categories here. Edits made to a Shared Category can be made by going to the shared requirement from the program catalog page. This will change all audits containing that Shared Category.
Publishing an Audit
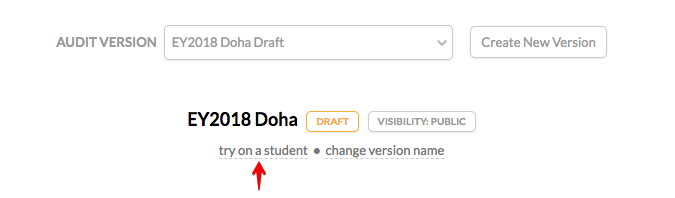
Once you’ve finished building your audit, always test on a student, or multiple students. This allows you to try the new audit out in a real life example before publishing.
When you are satisfied with your audit, click ‘Publish’ near the top. Depending on your permissions, the audit may be sent to an admin for review before being published. It’s good to remember that publishing a new audit can take some time, and audits applied to larger set of students could cause lag for affected users. It’s better to publish audits outside of peak hours, if possible.
Don’t hesitate to reach out if you have any tricky audits to build, we’re always here to help!
See also our webinar on best practices in using Stellic's requirement editor!